

Chapter 1 of the Ultimate Guide to Running With Your Garmin Watch | Series Overview >
In this chapter, I’ll show you how to set up your Garmin watch for running. Getting the physiological parameters on point (and a few GPS-related ones) is crucial if you want your watch to be your best workout buddy and not a random number generator. So let’s start with the basics.
1.1. Physiological Metrics
If you’ve entered correct and complete information during the initial setup of your watch, you can probably skip this step. However, since many of Garmin’s features, such as calorie tracking, VO2max estimates, etc., depend on these parameters, it might be a good idea to double-check the information you’ve entered and make sure that it is correct and up to date.
In Settings under “User Profile”, make sure the following metrics are correctly entered:
- Gender
- Birthdate
- Height
- Weight
- Wrist (you wear your watch on)
Auto Detection
The next step is to check “Auto Detection”. It should be ON by default, but it never hurts to double-check. In the “User Profile”, go to “Heart Rate & Power Zones”, scroll down, and go to “Auto Detection” (certain watches, such as the Forreruner 745, have this option in general Settings under Physiological metrics). Here make sure all options – Max. Heart Rate, Threshold, and FTP are set to ON so your watch can automatically detect and adjust your running/cycling zones, etc.
In the “Heart Rate & Power Zones” under “Heart Rate”, scroll down to “Resting HR”, and there turn on “Use Average”.
Best Heart Rate Zones Settings for Effective Training
Finally, under “Heart Rate” -> “Zones” -> “Based on”, select “%LTHR”. By setting your zones based on your Lactate Threshold Heart Rate, you are choosing an approach that accounts for your individual physiological response to exercise, which is considered to be the gold standard of training among endurance athletes. If your watch does not have this option, use the default “%MaxHR” instead.
1.2. Dialing in the Optimal GPS Settings
If you want the best accuracy possible from your GPS, you’ll need to make sure that it is properly set up. There are two settings in particular that you should focus on: Data Recording and Satellites (or labeled as GPS on older models).
First, let’s start with Satellites (GPS). By holding the UP/MENU button go to Settings, then go down to “Activities & Apps” -> “Run” -> “Satellites” (or “GPS”). Here you should see multiple options depending on the model of your watch.
On Fenix Watches
- Auto Select – switches automatically depending on your running environment and the quality of GPS reception. Battery impact LOW to HIGH.
- GPS Only – best for the outdoor environment with a clear view of the sky or minimal obstructions/tree cover. Battery impact LOW.
- All Systems – provides good performance in challenging environments such as dense urban areas with tall buildings, canyons, or dense forests, well-suited for high-latitude. Batter impact MEDIUM.
- All Systems + Multiband – the best option for the most challenging environments. Battery impact HIGH.
or on older watches
- GPS – for outdoor environments with a clear view of the sky. Battery impact LOW.
- GPS + GLONASS – provides good performance in challenging environments such as dense urban areas with tall buildings, canyons, or dense forests, well-suited for high-latitude. Battery impact MEDIUM.
- GPS + GALILEO – performs well in challenging environments such as dense urban areas with tall buildings, canyons, or dense forests, well-suited for high-latitude. Battery impact MEDIUM.
As to which one should you use – GPS + GLONASS or GPS + GALILEO? It depends on multiple factors, but from my experience, GPS + GLONASS generally produces better results. However, if you have a specific course you run often, the best option is to try both and compare the tracks it produces.
If you choose to use GPS alone, it doesn’t mean you will automatically get worse accuracy. In general, if you are running in open spaces with a clear view of the sky, you will get similar accuracy with any of these settings.
Also, it’s important to remember that each activity profile, whether run, trail run, track run, etc., has its own separate GPS settings, so it’s a good idea to set up each one. For example, using higher accuracy (GPS + GLONASS or All Systems) as the default for a trail run might be a good idea. This is because trees and other obstacles can block the view of the sky, which decreases the accuracy of the GPS.
If you’re unsure about what GPS settings to use for different run profiles, here are the ones that have worked well for me:
- Run: GPS only – sufficient precision and easy on your battery
- Trail Run: GPS + Glonass/ Increased accuracy – adds a bit of extra accuracy, great for more challenging conditions
- Track Run: GPS + Glonass or All + Multiband – highest accuracy and adds stability to your pace
- Racing: All + Multiband – highest accuracy and adds stability to your pace. For racing purposes I always go for the most accurate GPS setting.
Finally, let’s move to Data Recording. Go to Settings -> “System” -> “Data Recording” (“Frequency”) and choose “Every Second”. By increasing the recording frequency to “Every Second,” you’ll get more accurate recordings of your GPS tracks for your activities. This setting doesn’t impact battery life.
Run vs. Trail Run
Always use the correct run profile for the type of activity you are doing. Garmin uses different algorithms to calculate its fitness metrics, such as V02max estimates. Therefore, using the right sport’s profile is essential so the data doesn’t get skewed. In addition, both trail run and standard run profile functions come with different data fields and a few different settings.
1.3. Best Data Screens For Running
After years of running with my Garmin Fenix watch, I’ve become a data screen minimalist. Nowadays, I want to get the most information in a minimal amount of real estate since fidgeting with the data screens mid-run just doesn’t cut it for me. Therefore the goal of mine when setting up my running profiles was to get as much information in a single data screen and use the rest for quick glances, like map and time. If your watch allows you to view only four data fields per screen, then I would choose only one pace field (probably Average Pace).
Best Data Fields For the Run Profile
- Timer – basic but very useful metric. If you plan to run for a certain amount of time, you’ll know when to turn around mid-run and head home.
- Distance – if you are tracking weekly volume or run by distance, this is a must.
- Pace – gives you instant feedback on your running pace. This is helpful if you want to quickly find the pace you aim for.
- Heart Rate – the most important metric if you are doing heart rate-based training (more on that later). If your watch allows you to use a heart rate gauge, I would opt for that instead.
- Lap pace – current pace gives you immediate feedback on how fast or slow you run during your activity. However, it can fluctuate a lot, especially in conditions without a clear view of the sky (trees, cities with tall buildings, etc.). Lap pace gives you more smoothed-out feedback of your pace as it shows your average pace for the lap. To set it up, go to the settings of your Run profile. Look for the option to turn on “Auto Lap” and set the desired length for “Auto Distance”. I generally like to use 1000 meters for running.
- Average pace – this one is different from the lap pace. It shows you the average pace for the entire run. Since most of your runs are done at an easy pace, the average pace can give you a good indication of your overall fitness and progress over time.
As far as data field layout goes, I usually go with the six fields layout starting from the top:
Timer
Distance | Average Pace
Pace | Lap Pace
Heart Rate Gauge

Tip: I prefer to have the heart rate field at the bottom, as I can easily glance at it by rotating my wrist ever so slightly.
Optionally you can add one extra data field. I like to add a “Training Effect Gauge” (found in Heart Rate Fields). This lets me know how I’m impacting the energy systems in my body and gives me more insight into my training.

Best Data Fields for the Trail Run Profile
Due to the undulating character of the trails, I tend to focus on slightly different metrics than in the standard run profile. Here is the list of data fields on my main screen:
- Timer – again, basic metric, but very useful to know when to turn around.
- Distance – same as before. This is a must if you track weekly volume or run by distance.
- Heart rate – I rely on this metric to measure my effort as pace isn’t very useful on the trail.
- Average pace – this one is different from the lap pace. It shows you the average pace for the entire run. The average pace becomes helpful if you return to run a certain route multiple times and want to have something to gauge your effort off of. I also like to use it in ultra trail races, as this simple average pace value becomes my target.
- Vertical Speed – this metric gives you instant feedback on how many meters you are climbing/descending per hour.
- Total Ascent – just a fun one to see how much you’ve climbed in the run.
And here is the layout:
Timer
Distance | Average Pace
Total Ascent | Vertical Speed
Heart Rate

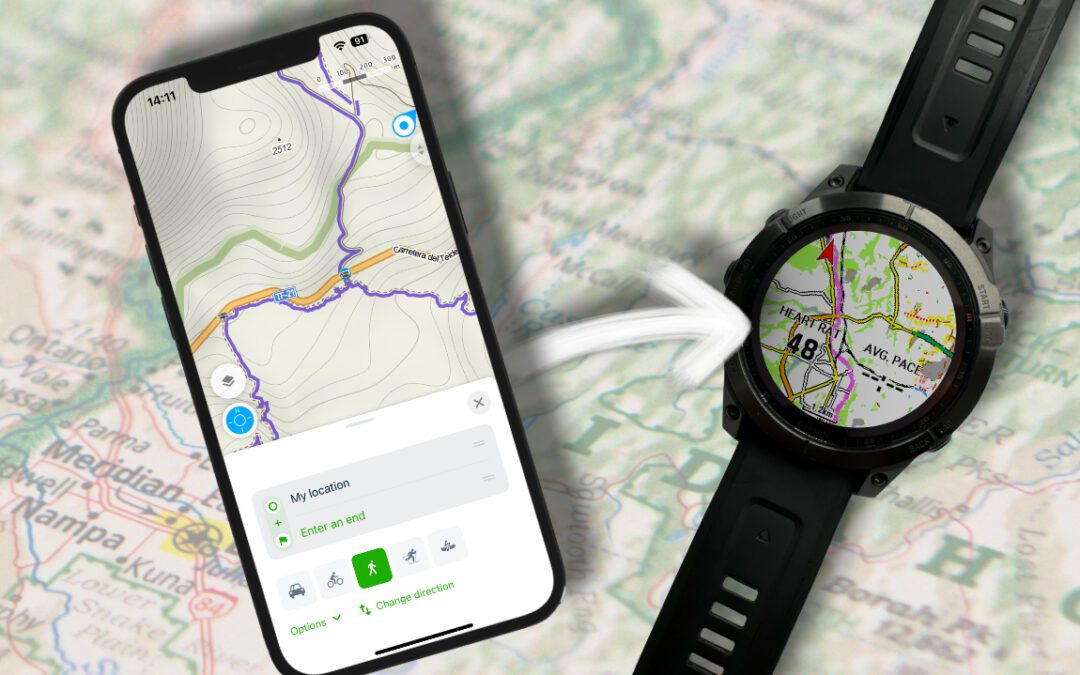
Additionally, since running on the trail requires a lot of navigation, I also use a second data screen with a map view interlaced with heart rate and average pace data. To set it up simply swipe to the map view then long press the menu button -> Trail Run Settings -> Data Screens -> Layout -> Choose desired layout and specific fields you want it to show.
Best Data Fields for Track Run Workouts
Since track workouts are more structured and require more focus on pace compared to easy runs, I like to use a slightly different set of data fields.
- Timer – this one remains the same.
- Distance – same as before, for tracking weekly volume and a total distance of a workout. In the Track Run profile, it’s measured in meters.
- Heart rate – an important field if you are trying to target specific heart rate zones for different types of workouts (Threshold, VO2 max, etc.).
- Lap Pace – especially important for interval work. It gives me feedback on whether I need to run faster or slower for a given target pace.
- Lap Distance – gives me instant feedback on my lap distance and helps me better gauge my effort during intervals.
- Pace – gives me instant feedback on my running pace. This is helpful if you want to find your target pace quickly.
And here is the layout:
Timer
Pace | Distance
Lap Pace | Lap Distance
Heart Rate

If you are wondering what data screens you should have for your race day, click here to go to the article in the series where I discuss the best data screens for racing based on my experience.
Click here to continue to Chapter 2

![Best Garmin Fenix 7 Watch Faces [2024]](https://dialedrunner.com/wp-content/uploads/2023/11/Best-Garmin-Fenix-7-Watch-Faces-for-Different-Occasions-1080x675.jpg)
![How To Import Gpx Course To Garmin Connect on iPhone [2024]](https://dialedrunner.com/wp-content/uploads/2023/09/How-To-Import-Gpx-Course-To-Garmin-Connect-iPhone_Header-1080x675.jpg)
0 Comments